Ledger.com/Start: Your Complete Guide to Setting Up and Using a Ledger Hardware Wallet
In the world of cryptocurrency, security is everything. Whether you’re holding Bitcoin, Ethereum, or any other digital asset, ensuring your funds are safe from hacks and phishing attacks is a top priority. That’s where Ledger hardware wallets come in. Ledger devices, including the Ledger Nano S Plus and Ledger Nano X, allow you to store your private keys offline while still easily managing your crypto portfolio.
The Ledger.com/start page is the official starting point for new users to set up their Ledger wallet. This guide will walk you through everything you need to know—from unboxing and initializing your device to managing assets securely using Ledger Live, troubleshooting, and best practices for protecting your crypto.
What Is Ledger.com/start?
Ledger.com/start is an official webpage provided by Ledger to guide users through the process of safely setting up their Ledger hardware wallet. It provides step-by-step instructions for:
- Initializing your Ledger device
- Installing Ledger Live, the companion app for managing your cryptocurrencies
- Creating a secure PIN
- Generating and safely storing your recovery phrase
- Adding and managing accounts
By following Ledger.com/start, users ensure they are setting up their wallet in a secure environment, avoiding phishing sites and scams that often target crypto newcomers.
Why Start With Ledger.com/start?
Using Ledger.com/start is essential because it ensures you are:
- Accessing official instructions – Only the official Ledger guide guarantees correct and safe setup procedures.
- Avoiding scams – Many fraudulent websites and phishing attempts mimic Ledger pages. Following the official start page protects you from these threats.
- Setting up Ledger Live properly – Ledger Live is the software interface that communicates with your hardware wallet. Ledger.com/start ensures you install and configure it correctly.
- Learning best practices – Security tips like safely storing your recovery phrase, creating a strong PIN, and avoiding online exposure are emphasized.
Step 1: Unboxing Your Ledger Device
Before you begin the setup process, make sure your Ledger hardware wallet is authentic. Ledger devices come with tamper-evident packaging. When unboxing, ensure:
- The seal is intact and has not been opened previously.
- The package contains the hardware wallet, USB cable, recovery sheets, and instructions.
- There are no visible signs of tampering.
If anything looks suspicious, do not use the device and contact Ledger support immediately. Authenticating your device is the first step to secure crypto storage.
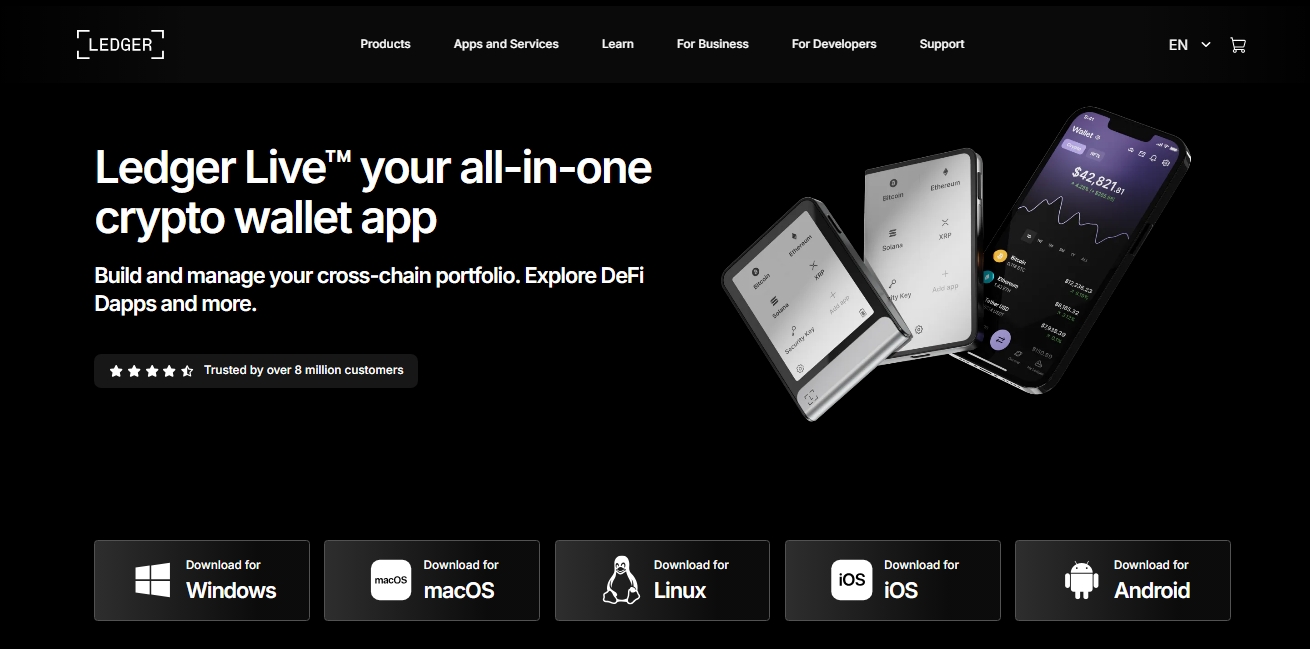
Step 2: Download and Install Ledger Live
Ledger Live is the official application for interacting with your Ledger wallet. You can use it to send, receive, and manage cryptocurrency securely.
How to Install Ledger Live:
- Go to Ledger.com/start.
- Select your device (Ledger Nano S Plus or Ledger Nano X).
- Download Ledger Live for your operating system (Windows, macOS, Linux, or mobile).
- Install the app following the on-screen instructions.
Once installed, open Ledger Live to begin device initialization.
Step 3: Initialize Your Ledger Device
When you first power on your Ledger wallet, you’ll be guided through the setup process:
- Select “Set up as new device” – If your device has been used before, you may restore from an existing recovery phrase instead.
- Choose a PIN code – The PIN protects your wallet in case of theft or loss. Pick a number that is secure but memorable.
- Write down your recovery phrase – Your 24-word recovery phrase is the ultimate backup of your wallet. Store it securely offline; never share it or take a digital photo.
- Confirm your recovery phrase – The device will prompt you to verify a few words to ensure you wrote it down correctly.
Completing these steps initializes your wallet and secures your private keys offline.
Step 4: Adding Accounts in Ledger Live
After setting up your device, Ledger Live allows you to add accounts for different cryptocurrencies.
How to Add Accounts:
- Open Ledger Live and navigate to Accounts.
- Click Add account.
- Choose the cryptocurrency you want to add.
- Connect your Ledger device and confirm on the device screen.
- Ledger Live will sync your balance and transaction history for that account.
You can repeat this process for multiple cryptocurrencies. Ledger Live supports hundreds of coins and tokens, including Bitcoin, Ethereum, Solana, Cardano, and more.
Step 5: Sending and Receiving Cryptocurrency
Ledger Live makes sending and receiving crypto simple while keeping security a top priority.
Sending Cryptocurrency:
- Navigate to the account from which you want to send.
- Click Send.
- Enter the recipient address and amount.
- Confirm the details on your Ledger device.
- Ledger signs the transaction offline and broadcasts it securely.
Receiving Cryptocurrency:
- Navigate to the account you want to receive funds into.
- Click Receive and display the address on your Ledger device.
- Share this address with the sender.
- Confirm the address on the device screen to prevent malware from altering it.
All transactions must be verified on the hardware device itself, ensuring your private keys are never exposed.
Security Best Practices for Ledger Wallets
Security is the most important reason to use a Ledger wallet. Following these tips maximizes your safety:
- Always use Ledger.com/start for setup.
- Never share your 24-word recovery phrase. Anyone with access to it can steal your funds.
- Verify the device screen for addresses and transaction details.
- Use a strong, unique PIN and consider passphrase protection for hidden wallets.
- Keep your Ledger firmware updated to protect against vulnerabilities.
- Avoid public Wi-Fi when accessing Ledger Live.
Troubleshooting Common Issues
Even with careful setup, users may encounter issues:
- Device not recognized: Try reconnecting the USB cable or restarting Ledger Live.
- Forgotten PIN: You will need to reset the device and restore using your recovery phrase.
- Ledger Live sync issues: Ensure you have the latest app version and internet connection.
- Transaction errors: Double-check the network fees and recipient address.
Ledger provides comprehensive support for troubleshooting on their official website.
Ledger Nano X vs Ledger Nano S Plus
Users often wonder which Ledger device to choose.
- Ledger Nano X: Bluetooth-enabled, mobile-friendly, larger storage for apps, ideal for multi-crypto management on the go.
- Ledger Nano S Plus: More affordable, smaller storage, USB connection only, perfect for beginners or users who mainly operate from a desktop.
Both devices follow the same setup instructions at Ledger.com/start, and both offer the same level of security.
Why Ledger.com/start Is Crucial for Beginners
For newcomers, the setup process can seem daunting. Ledger.com/start simplifies this by providing:
- Step-by-step guidance
- Verified download links for Ledger Live
- Clear instructions for PIN and recovery phrase setup
- Security tips to avoid scams and phishing attacks
Following the official guide ensures a smooth and secure experience from the very beginning.
Conclusion
Ledger.com/start is the essential starting point for anyone looking to set up a Ledger hardware wallet safely. From unboxing and initializing your device to installing Ledger Live, adding accounts, and managing transactions, this official guide ensures your cryptocurrency is secure and easily accessible.
By following the steps outlined here and adhering to security best practices, you can confidently manage your digital assets, knowing your private keys are protected offline. Whether you’re a beginner or an experienced crypto investor, Ledger.com/start provides the foundation for a safe and efficient cryptocurrency experience.